Lasagna Gardening Layers
Turn cardboard, dry leaves, and garden trimmings into a no-dig bed for vegetables and herbs.
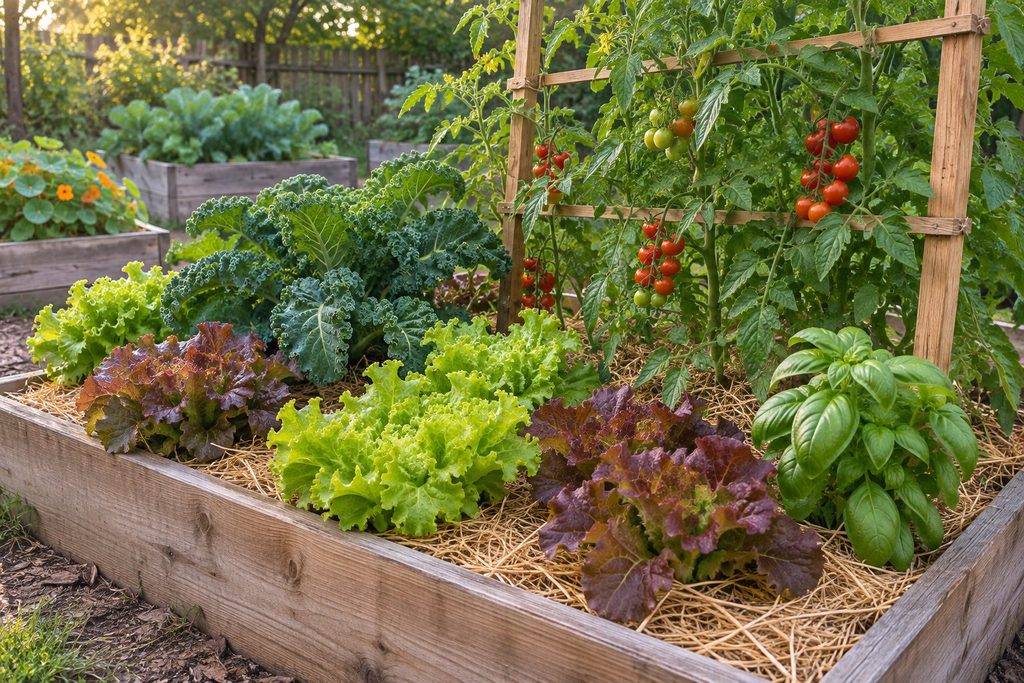
Got a patch of lawn you’d love to turn into a vegetable garden, but dread the thought of digging out every clump of grass? Grab a few plain cardboard boxes and that bag of leaves you’ve been meaning to deal with. With the right lasagna gardening layers, those materials can help you build a planting bed right where the grass grows. My favorite part of the idea is that raking leaves suddenly feels like gathering supplies.
Quick answer. Start with damp cardboard over the ground. Add a layer of nitrogen-rich greens, then a layer of carbon-rich browns. Repeat, finish with browns, and let the bed break down before planting.
How to Build Lasagna Gardening Layers in Order
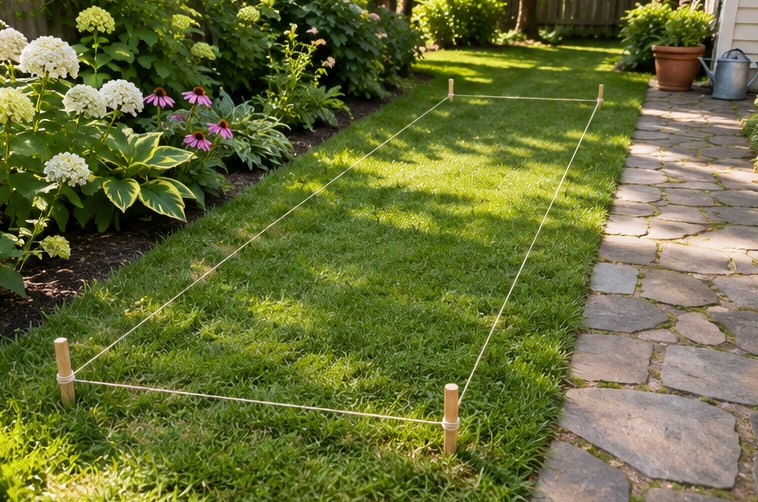
Lasagna gardening is a form of sheet composting. You stack organic matter directly where you want the bed and let it decompose in place. Pick a sunny spot for most vegetables, mow the grass low, and pull out as many roots and runners of aggressive perennial weeds as you can. Make the bed narrow enough to reach the middle from the path.
1. Lay down damp cardboard
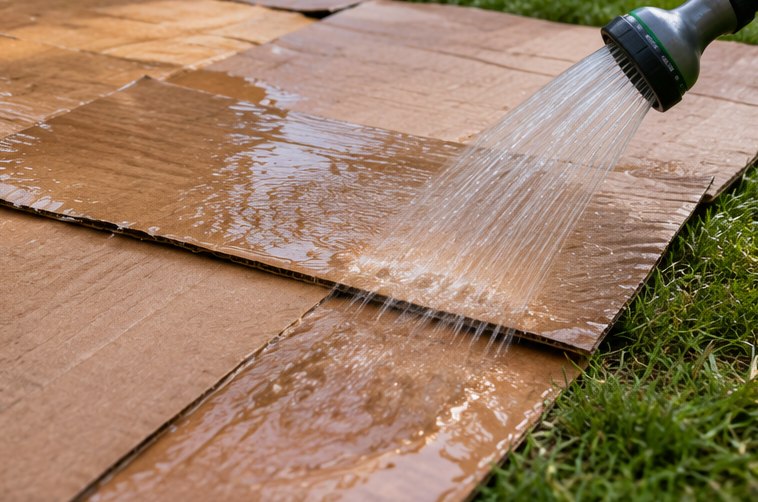
Remove tape, labels, and staples from plain brown corrugated cardboard. Soak the sheets, spread them flat, and overlap the seams by about 8 inches so grass has fewer gaps to grow through. Cover the whole footprint, including the edges where grass can creep back in. A few handfuls of leaves will hold a loose corner down while you work.
2. Add a thin layer of greens
Scatter fresh grass clippings from an untreated lawn or use soft, healthy plant trimmings. The cardboard provides carbon, so starting with greens adds nitrogen for the microbes that break everything down. Spread the material loosely across the bed. Ever picked up a wet clump of grass that smelled sour? That’s what you want to avoid here.
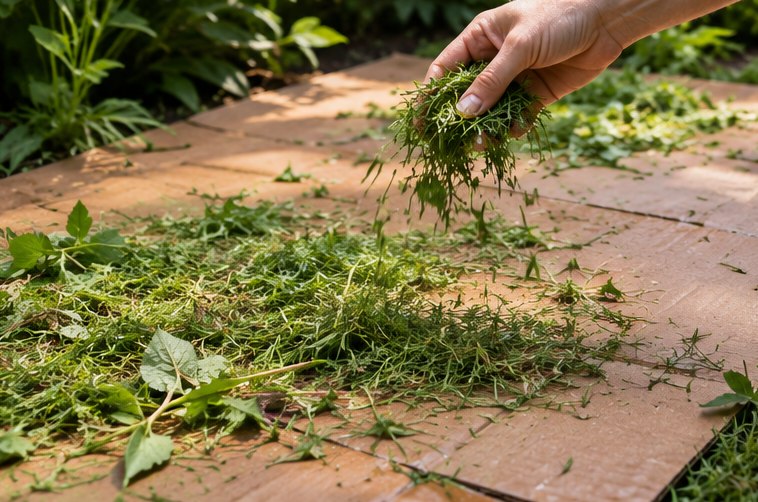
3. Cover with browns and repeat
Spread chopped dry leaves or clean straw over the greens, then keep alternating as your supplies allow. About an inch per layer is a practical starting point when working with fine materials. Mist each layer as you go and aim for the feel of a wrung-out sponge. If a squeezed handful drips, hold off on watering.
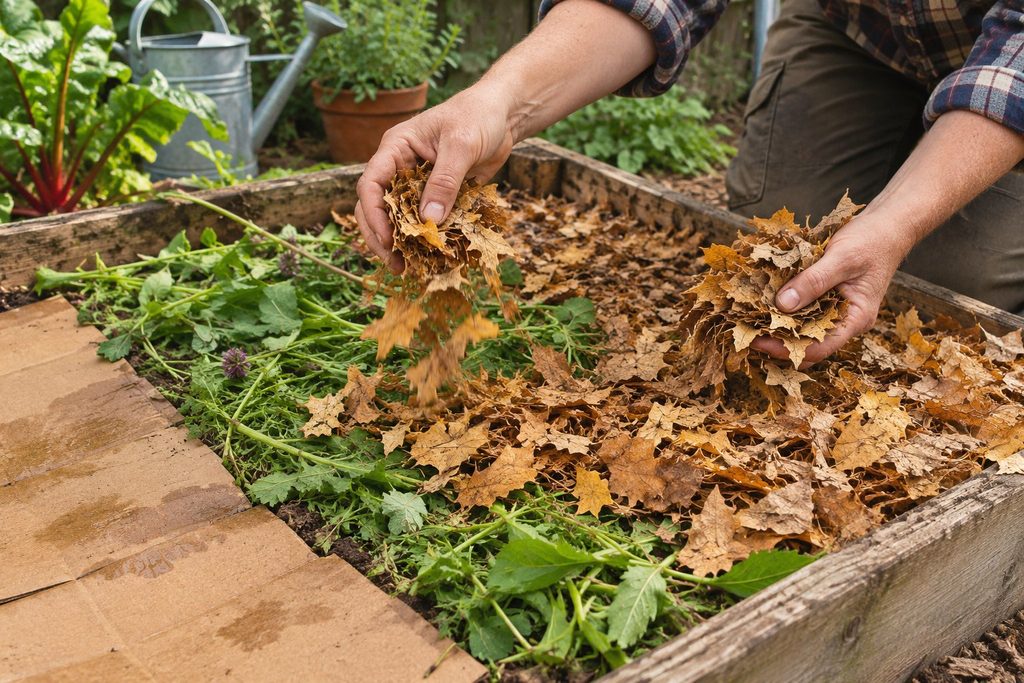
4. Finish with a brown cover
Cap the bed with leaves or straw to cover any scraps and discourage flies. Oregon State University Extension describes building the stack to roughly 18 inches or more for its sheet composting method. Expect the height to drop as the materials decay. If you run short, cover your stack and add another round of layers when you have enough material.
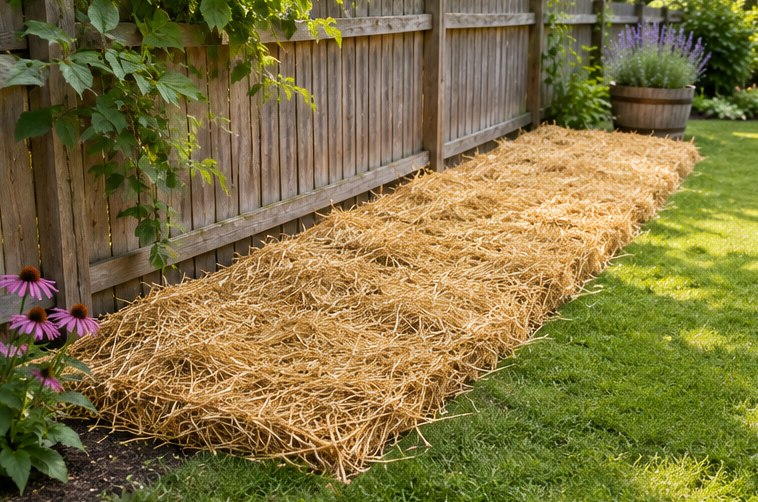
What Counts as a Brown or a Green?
Think about how the material behaves in the bed. Dry leaves add bulk and can keep soft, wet ingredients from matting together. Fresh trimmings supply nitrogen, but large clumps can squeeze out the air that composting microbes need. FYI, used coffee grounds count as a green even though they look brown.
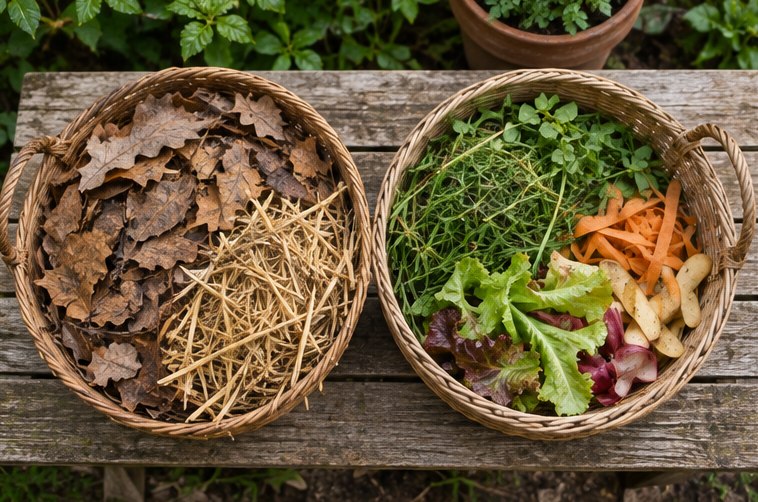
| Material | What to use | How to add it |
|---|---|---|
| Carbon-rich browns | Dry leaves, clean straw, shredded plain paper | Break up clumps and spread evenly. |
| Nitrogen-rich greens | Fresh untreated clippings, healthy trimmings, coffee grounds, vegetable scraps | Scatter thinly and cover with browns. |
Leave out meat, dairy, grease, and pet waste. Skip diseased plants and weeds that have gone to seed, since sheet composting stays relatively cool. With grass and straw from someone else, ask about herbicide use before adding them to an edible bed. If you can’t confirm the source, use your own leaves or untreated clippings.
Gather materials before you start
Set your cardboard, leaves, and greens in separate piles near the bed so you can see what you have. A leaf pile that looks big in the corner of the yard can disappear quickly once you spread it over a whole bed. IMO, building a short, complete bed is more satisfying than leaving half of a big one unfinished. Save a bag of leaves for topping up the cover when wind exposes the edges.
When Can You Plant a Lasagna Garden?
If you can wait a season
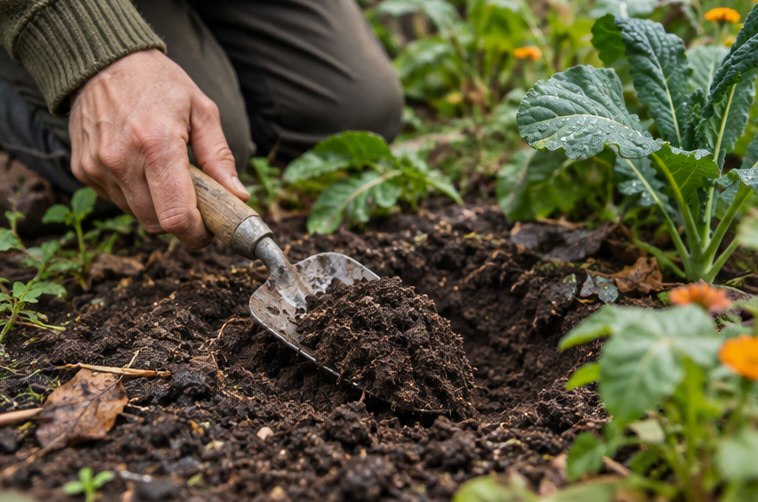
Build the bed in fall when leaves are easy to gather, then check it in spring. Oregon State University Extension gives about six months or longer as a rough timeline. Temperature, moisture, and the size of the materials can all shift that date. Lift a corner of the cover and look for dark, crumbly material that smells earthy and has few recognizable scraps.
If you want to plant sooner
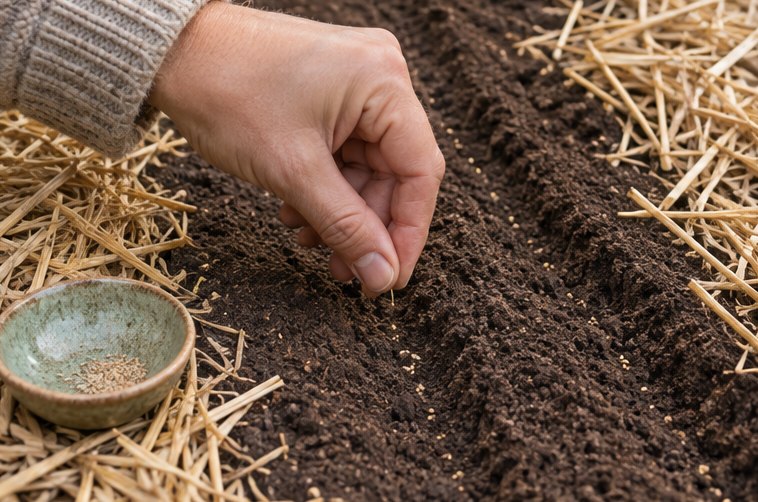
For a small trial, add 2 to 3 inches of finished compost or garden soil on top of the fresh layers and sow fast-growing, shallow-rooted crops such as baby lettuce. Pull loose straw aside where you sow so the seeds touch the soil. Keep the surface evenly moist as the seeds germinate. Save long carrots and big tomato transplants for a settled bed with a deeper, even root zone.
What if one end looks ready and the other looks like a heap of leaves? Test a few spots with a hand trowel, especially the shady side and the middle. Plant in the parts that have an even, crumbly texture and give the rest more time. A photograph taken when you built the bed can help you see how far the surface has settled.
Layered Garden Ideas for an Edible Garden Design
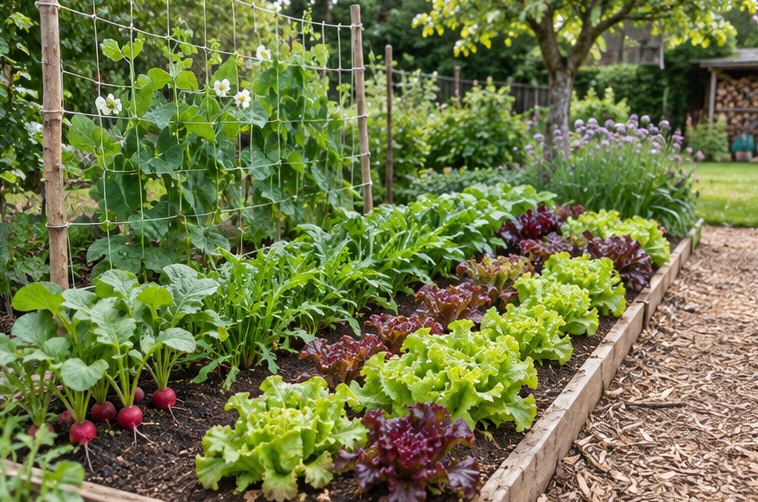
What do you like to pick and eat? That question makes edible garden design feel a lot easier. In a small bed, plant greens along an easy-to-reach edge and put a pea trellis where it won’t shade sun-loving neighbors. Keep walking paths outside the bed so you can harvest without stepping on the layers.
- Salad strip. Sow short rows of leafy lettuce, arugula, and radishes. Leave a little room to sow the next batch after you pick the first.
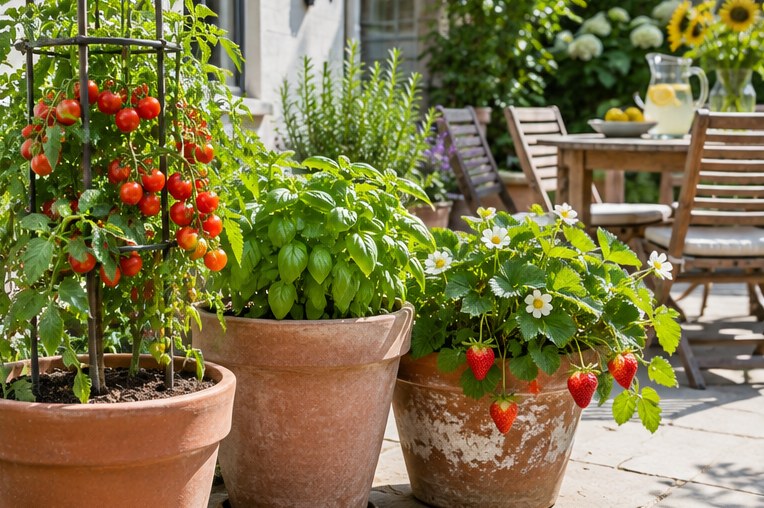
- Sauce garden. Give tomatoes a sturdy support, then plant basil along the sunny edge. Use the spacing on the plant labels so the mature plants have airflow.
- Bed beside the kitchen. Put frequently snipped herbs, such as parsley and chives, along the path. Add a stepping stone outside the bed where you pause to pick.
Before you bring home seedlings, sketch the bed on the back of a seed packet or scrap of paper. Mark where the afternoon shade falls and where you’ll stand with a watering can. If a tomato cage blocks your reach, shift it toward an end of the bed. Five minutes of sketching can save you an entire summer of leaning over a prickly squash plant.
Common Lasagna Garden Problems and Fixes
- The bed smells sour. Pull back the cover and loosen any dense, wet mats of clippings. Work in some chopped dry leaves to open up the pile.
- The middle feels dry. Check below the surface with your fingers. Water slowly in passes so moisture soaks in instead of running off the cap.
- Grass comes through the sides. Pull new shoots and patch the exposed seam with overlapping damp cardboard. Lay fresh browns over the patch.
- The bed has sunk. Shrinkage comes with decomposition. Top up a planted bed with finished compost and renew the surface mulch around your crops.
Check a newly built bed after the first heavy rain. The damp cardboard should stay covered, and the edges should feel firm enough to hold their shape. Rake any scattered leaves back into place.
Frequently Asked Questions
Can I build a lasagna bed without a wooden frame?
Yes. You can mound the layers directly on the ground and taper the edges so loose leaves stay put. A frame helps define the bed, especially next to a path, but the cardboard and organic materials do the same work either way.
Do I have to turn the layers?
No. Leave the bed in place and check the moisture underneath the top layer from time to time. If a patch starts to smell or feels soggy, loosen that patch and add dry leaves. You can leave the rest of the bed alone.
Can I build a lasagna garden without kitchen scraps?
Absolutely. Use untreated grass clippings or soft garden trimmings for the green layers and dry leaves for the brown layers. If you mostly have leaves, save a few bags somewhere dry so you can use them when fresh trimmings are available.
Start With One Bed
Lay damp cardboard, alternate greens and browns, and finish with a dry-leaf or straw cover. Keep the layers damp and let the bed settle before planting deeper-rooted vegetables. This weekend, mark out one patch you can reach from both sides and see how much material you have. This might be the first lasagna you’re happy to leave out in the yard for months.