How to Plant a Garden: 9 Easy Steps for a Beautiful, Bountiful Backyard
Beginner Garde Guide
Turn a patch of earth, a sunny balcony, or a few containers into a garden that feels lovely and gives back all season.
A practical, beginner-friendly guide · Updated November 2026
A new garden does not need acres of land, expensive tools, or a perfect plan. Start with a place that gets sunlight, choose a few plants you genuinely enjoy, and build healthy soil before you plant. These simple steps explain how to planting a garden in a way that works for beginners, whether your goal is a cheerful flower border, a handful of herbs, or fresh vegetables for dinner.
1. Choose a garden spot you will enjoy using
Look around your yard, patio, or balcony at different times of day. Most vegetables and many flowering plants grow best with at least six hours of direct sun. Leafy greens and some herbs can manage with less. Notice where water collects after rain, where the hose reaches, and whether trees or walls cast long afternoon shadows. A convenient spot is easier to water, weed, and visit often.
2. Pick a manageable size and garden style
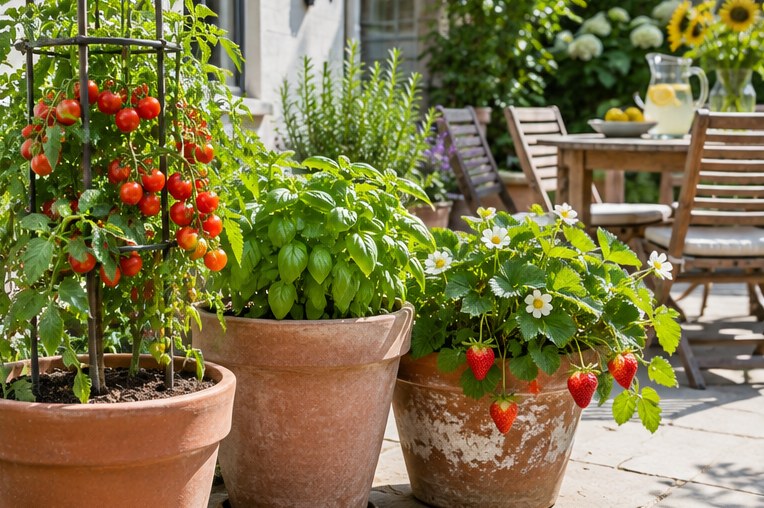
For a first season, a modest bed or three to five containers is plenty. You can grow a surprising amount in a compact space when plants are arranged well. In-ground beds suit yards with workable soil; raised beds make planting and maintenance easier; pots are flexible for balconies and rented homes. Some favorite home gardening ideas include a pot of basil near the kitchen door, a vertical trellis for climbing beans, and a small flower-and-herb border that attracts pollinators.
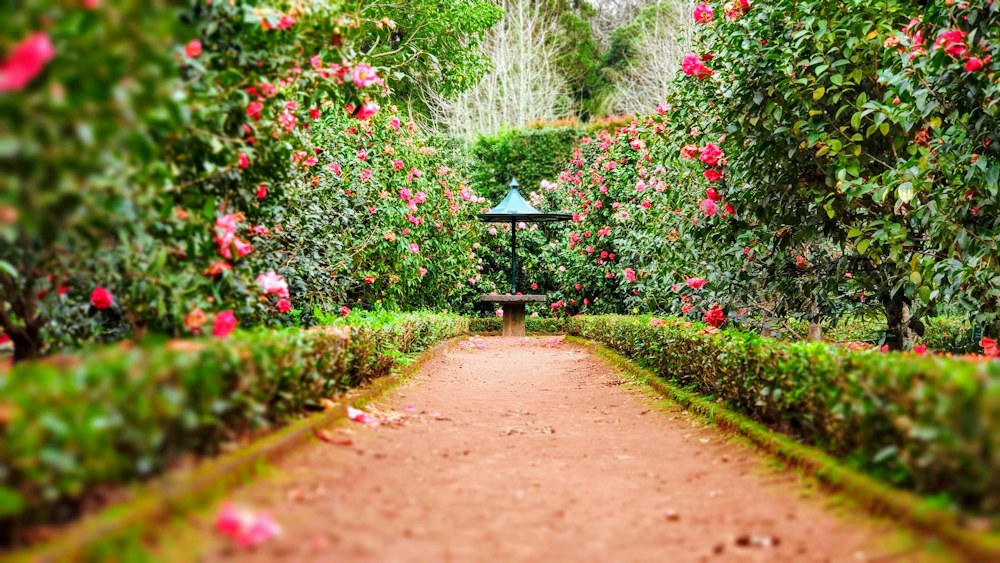
Sketch your space on paper and leave paths wide enough to walk through without stepping on the soil. Keep taller plants where they will not shade shorter ones. A simple layout helps you see what fits and makes the garden feel intentional from the start.
3. Choose plants for your season and your table
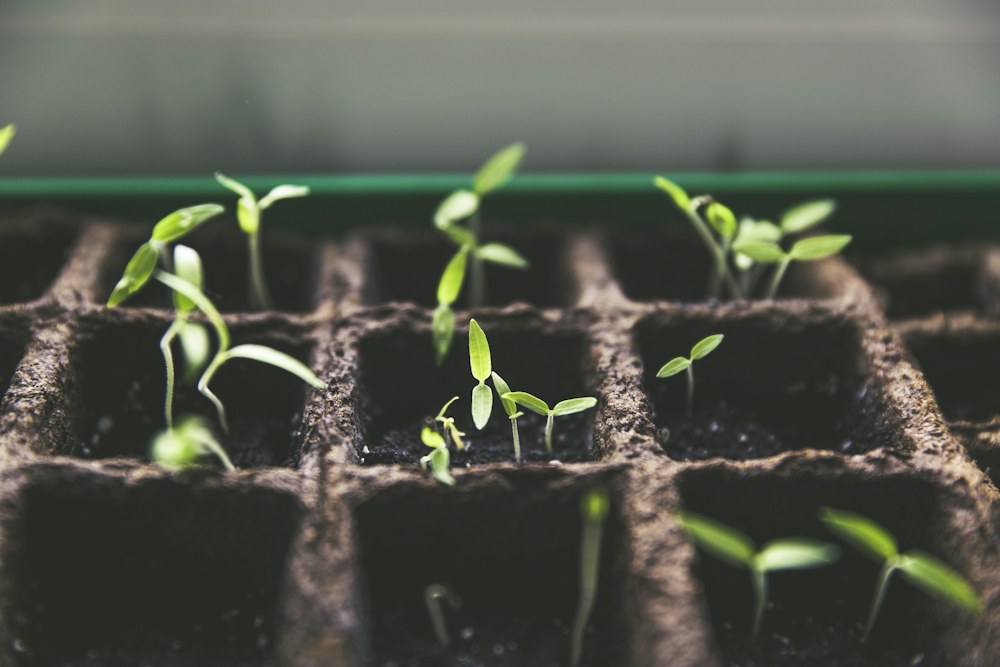
Check your local planting calendar and the information on seed packets or nursery labels. Warm-season crops such as tomatoes, peppers, and cucumbers need warm weather; lettuce, peas, and spinach prefer cooler conditions. If you are new to gardening, buy a few sturdy seedlings for crops that take a long time to grow, and sow easy seeds such as radishes, beans, or leafy greens directly in the soil.
Choose varieties your household likes to eat and that fit your space. A compact tomato can suit a pot, while a sprawling squash needs room. For tasty veggie gardening ideas, combine a cherry tomato with basil, grow snap peas on a simple trellis, or plant lettuce in a container where you can harvest a few leaves at a time.
4. Prepare the soil before planting
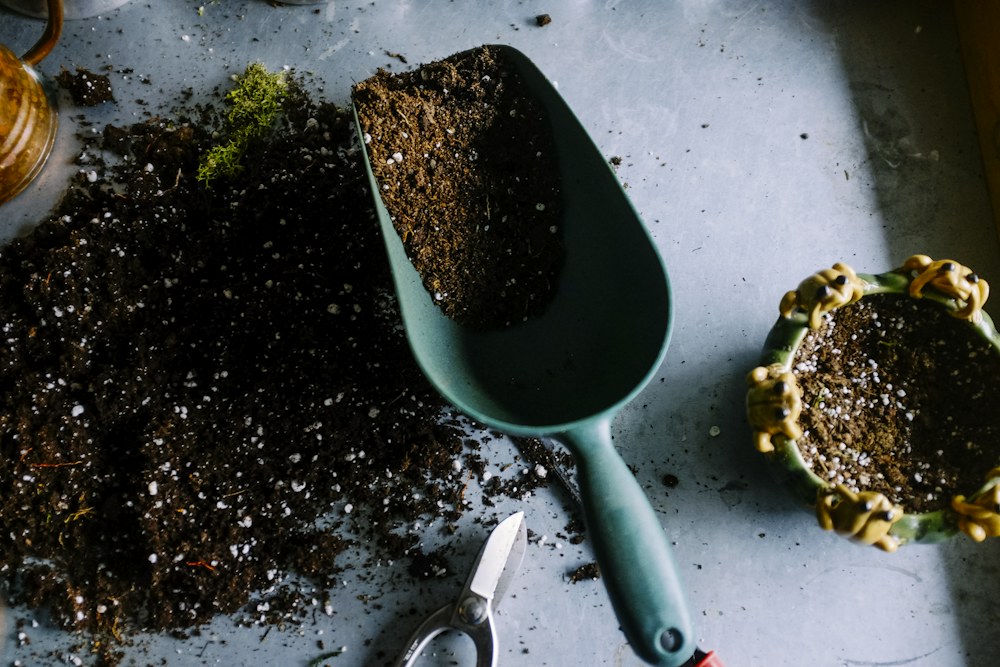
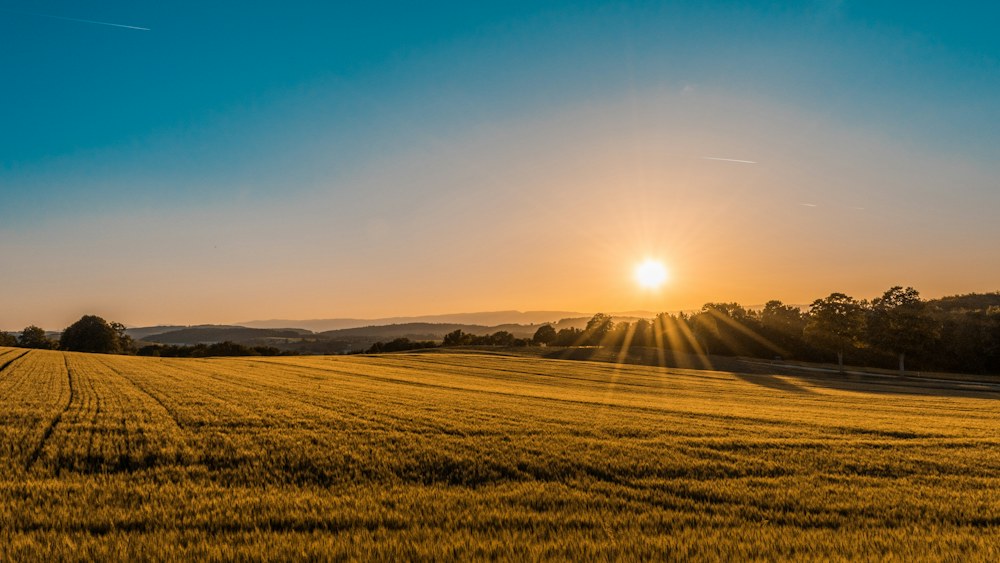
Remove weeds, stones, and rubbish, then loosen the top layer of soil with a garden fork. Mix in a few inches of finished compost to improve texture and help the soil hold moisture. Avoid working soil when it is soaking wet, because digging then can compact it into hard clumps. If you are using containers, choose a fresh potting mix made for growing plants rather than filling pots with dense garden soil.
Healthy soil should crumble gently in your hand and drain without drying out immediately. A basic soil test can reveal whether your garden needs a particular adjustment. Make changes based on the results instead of adding lots of fertilizer by guesswork.
5. Gather a few useful tools
6. Plant at the right depth and spacing
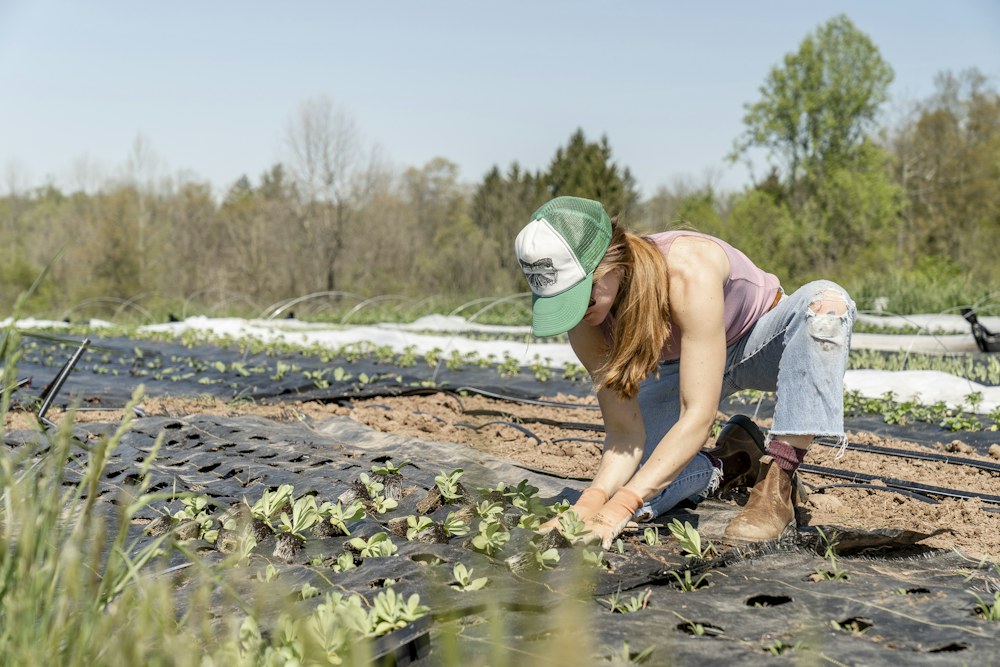
Water seedlings before taking them out of their pots. Gently loosen roots that circle tightly, then set each plant at the depth recommended on its label. Seeds have different needs, so follow the packet directions for depth and spacing. Crowding may seem like a way to fit more in, but plants need air and room for roots; cramped plants compete for light and are harder to care for.
After planting, press the soil gently around roots and water slowly to settle it. Add a plant label if you might forget what you planted. A quick photo of your layout is handy for next season, too.
7. Water deeply and protect the soil
New seeds and transplants need consistent moisture while their roots establish. Water near the soil rather than spraying leaves, and check moisture with a finger instead of relying on a fixed schedule. Most established plants do better with a thorough watering less often than with a little splash every day. Containers dry faster than garden beds, particularly in hot or windy weather.
A thin layer of straw, shredded leaves, or other suitable mulch can slow evaporation and suppress weeds. Keep mulch slightly away from plant stems so air can circulate. Adjust watering after rainfall and during heat waves.
8. Keep up with small weekly tasks
Spend ten minutes a few times a week looking closely at your plants. Pull small weeds before they spread, tie climbing stems to their supports, and remove damaged leaves. Check the undersides of leaves for insects and look for changes in color or growth. Catching problems early is usually simpler than trying to fix a whole bed later. Use fertilizer only when a crop needs it and follow the label directions.
Not every leaf will look perfect, and a few nibbles are part of gardening. Focus on whether plants are growing steadily and producing healthy new leaves. Keep notes on what thrived, what struggled, and when you planted each crop.

9. Harvest often and enjoy what you grow
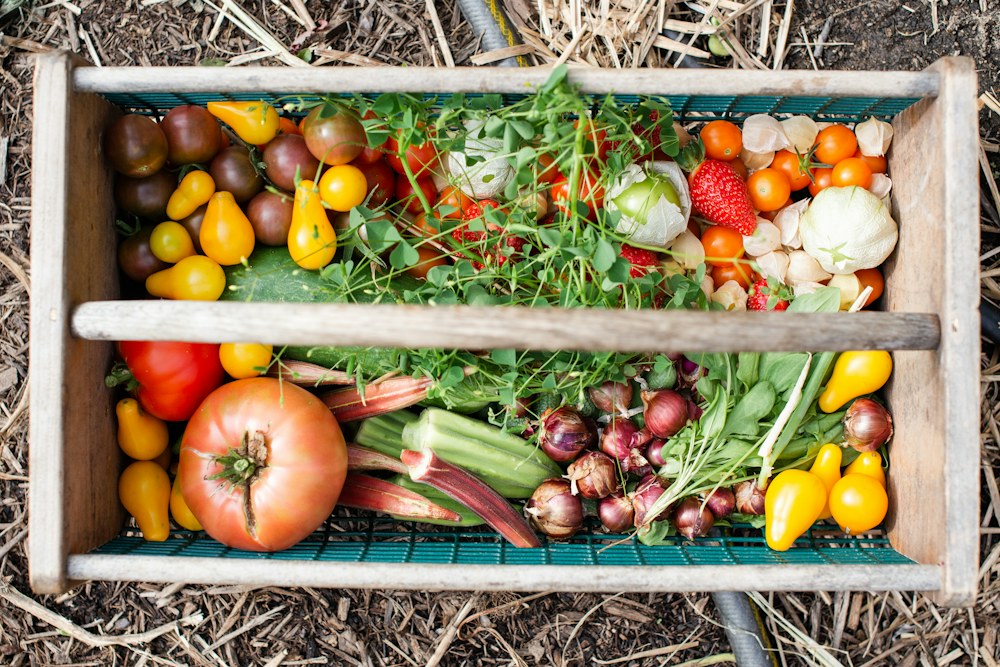
Follow variety guidance for harvest size, but use your senses too: ripe tomatoes develop full color and give slightly when touched; leafy greens can often be picked a few leaves at a time. Harvest with clean hands or pruners and avoid pulling hard on stems. Regular picking encourages many crops to keep producing. Wash produce before eating and store it according to the crop.
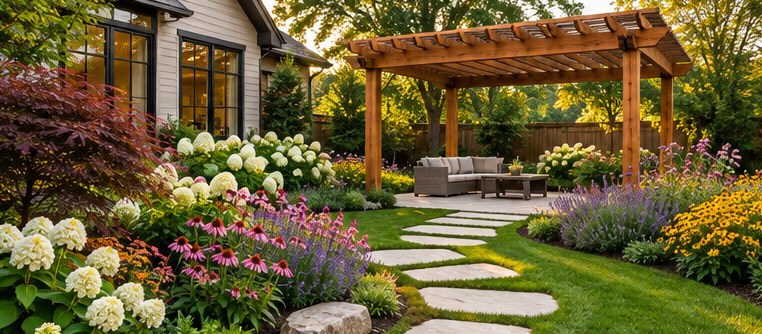
Make your first garden personal. Add a comfortable seat, a little path, or a pot of flowers for color. If one crop fails, you have learned something useful for next season. Gardening becomes easier when you notice what works in your own conditions and keep the parts that bring you joy.
A simple first-garden checklist
- Choose a sunny, easy-to-reach spot.
- Start with a small bed or a few containers.
- Select plants that fit your season, space, and meals.
- Improve the soil with finished compost.
- Plant at the recommended depth and spacing.
- Water consistently, mulch lightly, and check the garden often.
- Harvest, take notes, and enjoy learning as you go.
Final thought: The best beginner garden is one you can care for comfortably. Start small, plant what you love, and let each season teach you how to make the next one even better.
Garden conditions vary by climate, soil, and season. Use local planting dates and plant labels as your guide.
Photo sources: Unsplash. Images load from Unsplash and require an internet connection.